Please upload a minimum of 20 photographs following the guidelines below.
Quality photos always yield the best sales results.
Be sure to highlight any and all imperfections – don’t let the buyers be the first to find it. Presentation is key.
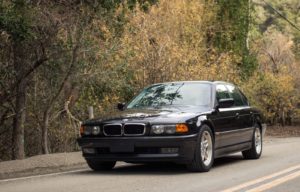
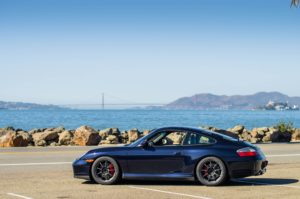
Exterior:
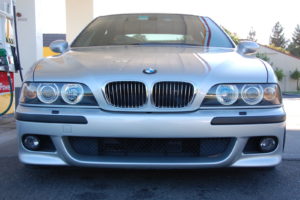
- Full front fascia
- Front bumper
- Front 3⁄4 driver-side angle
- Front 3⁄4 passenger-side angle
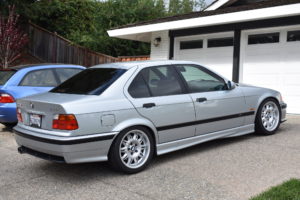
- Complete driver-side profile
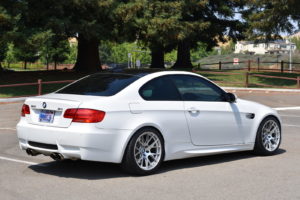
- 3⁄4 angle from rear
- 3⁄4 angle from front
- Complete passenger-side profile
- 3⁄4 angle from rear
- 3⁄4 angle from front
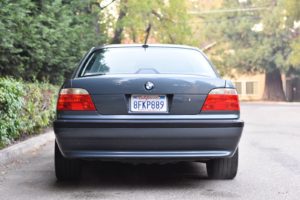
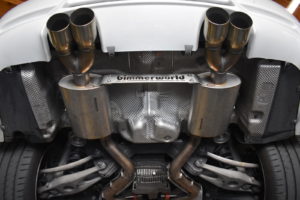
- Full rear-end
- Rear bumper
- Rear 3⁄4 driver-side angle
- Front 3⁄4 passenger-side angle
- Any VIN tags, if applicable and visible
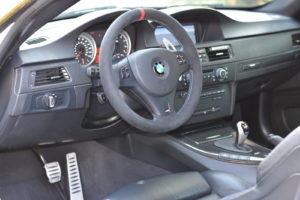
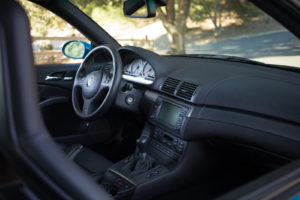
Interior:
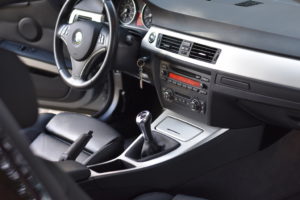
- Gauge cluster
- Full dashboard
- Center console
- HVAC/radio/dash controls
- All surfaces
- Complete driver and passenger seat(s)
- Bolster condition
- Door panels
- A/B/C pillars (if applicable)
- Headliner
Engine bay:
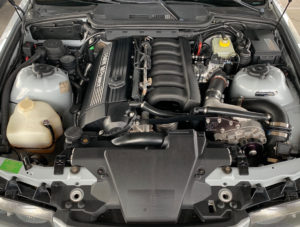
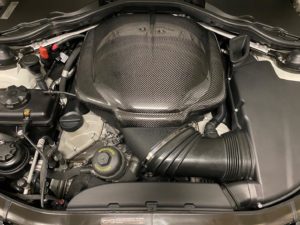
- Complete overview
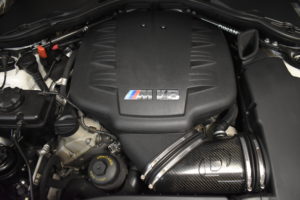
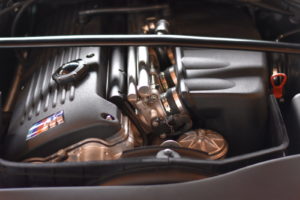
- General close-ups spanning from side-to-side of mechanical components and relevant markings
1. Be sure to thoroughly detail your car and remove any personal items from the interior.
2. Find a suitable location – ideally a clean and quiet location with minimal visual distractions.
3. Lighting is paramount. Shoot outside in the shade, in the late afternoon sunlight, or under overcast weather if possible. Alternatively, very well-lit uncluttered indoor locations without glare often suffice.
4. When shooting the exterior, always default to the landscape orientation on your camera. Position your car against a background as described above with the majority of light behind the lens. Photograph both the driver and passenger-sides, 3/4 views of each, direct shots of the front and rear. Please photograph one or more VIN tags.
5. When shooting the interior, always default to the landscape orientation on your camera. Start by photographing an overview of both the driver and passenger-sides and get more granular as you proceed. Get as much of the interior in the shot as you can; seats, dashboard, center console, door panels, etc. Afterwards, focus on details; gauge cluster, steering wheel, carpets, headliner, etc. Please photograph one or more VIN tags.
6. When shooting the engine bay, always default to the landscape orientation on your camera. Remove any easily disposable debris from under the hood. Start by photographing an overview of the entire engine bay and get more granular as you proceed. Afterwards, focus on details; any mechanical components or markings you deem necessary.
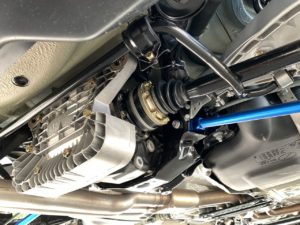
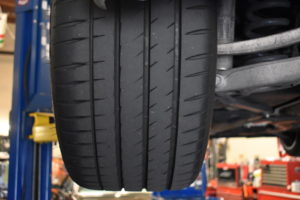
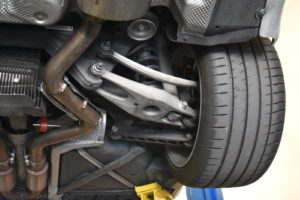
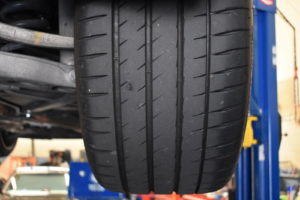
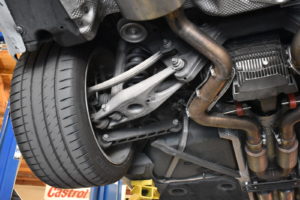
7. Undercarriage photographs are tricky without a lift or ramps – but doable. Don’t sweat (mentally or physically), though try giving it a shot (yes, literally). Default your camera to the landscape orientation and focus on the underside of the engine, transmission, suspension components, brakes, wheels, tires, and be sure to accurately capture any rust if applicable.


